

determine Location and shape
Because the rain garden needs runoff water to flow towards it, the garden should be located at a low point in one’s yard. Ideally, this would be right where downspouts also point. The rain garden should be at least 10 feet away from infrastructure as to avoid saturating soil close to its foundation. Decide on the shape preferred for your rain garden that can range from ovals, kidneys, teardrops, and rectangular shapes, and make the outline with spray paint.

2. Determine depth and size
The size and depth of a rain garden are largely dependent on the soil and how absorbant it is. The garden size should be calculated through estimating the surface area of the home roof and multiplied by 1 inch (of rainfall) to get the approximate rainfall volume during a 1-inch rain. Though this size is a general guideline, do not feel restricted by the number! Rain gardens can be both bigger or smaller if needed; bigger gardens can include more plants while also still helping manage rainfall while; a smaller garden is still effective, possibly even more than you might think! (A garden 70% smaller than ideal can catch about 75% of the water from such a storm.)
3. Creating the basin
From the garden area, remove grass completely before starting the excavating process/ Use a sharp spade or a sod cutter to slice away roots. The removed lawn can be easily disposed of by being rolled up. This extra dirt can also be useful in building a berm on the lower side of the rain garden if it is on a slope or building low spots of your yard to improve drainage. Once the dirt is removed, use a shovel or excavator to dig down to the depth calculated in previous steps. If a berm is built, it should be at least 2’ wide at the base and 1’ at the top. The peak should be at least half a foot higher than the highest water level of the full garden.
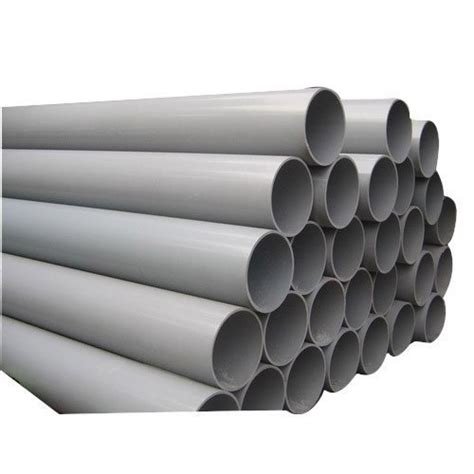
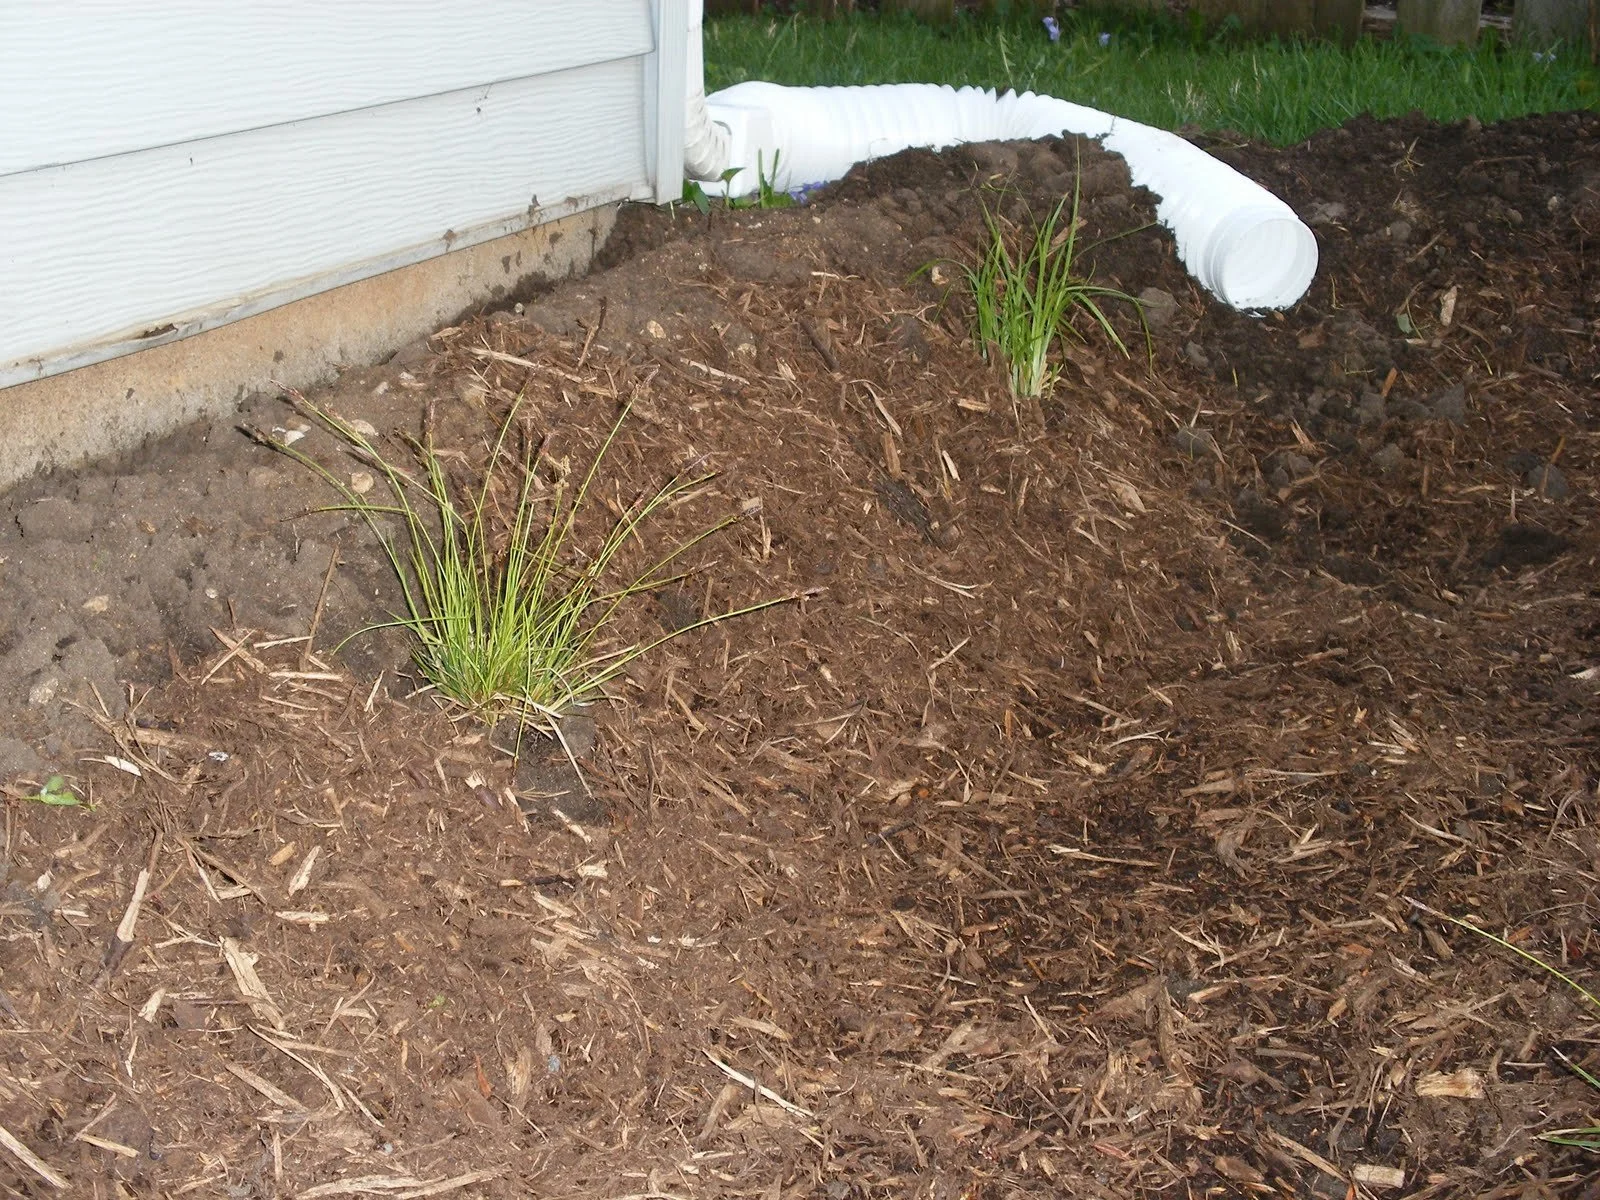
4. add pipe(s)
A trench needs to be dug in order to put the inlet pipe in place. These trenches will go from gutter downspouts to the rain garden. Before placing the pipes, be sure that the pipes will extend about a foot into the garden, and underline that area with stones (and stones can optionally be added next to and above the pipe afterwards). Place in the pipes, which can be either rigid (which is more durable) or corrugated tubing (easier to work with). When the pipes are in place, refill the trenches with soil.

5. reFill with soil
The newly dug rain garden now needs to be refilled with the soil-compost mixture fit for the garden. Firstly, pack stones around the overflow area to prevent erosion, before then adding the soil mixture. Be sure to leave 6-12 inches of space above the soil to give rainwater a place to be contained.
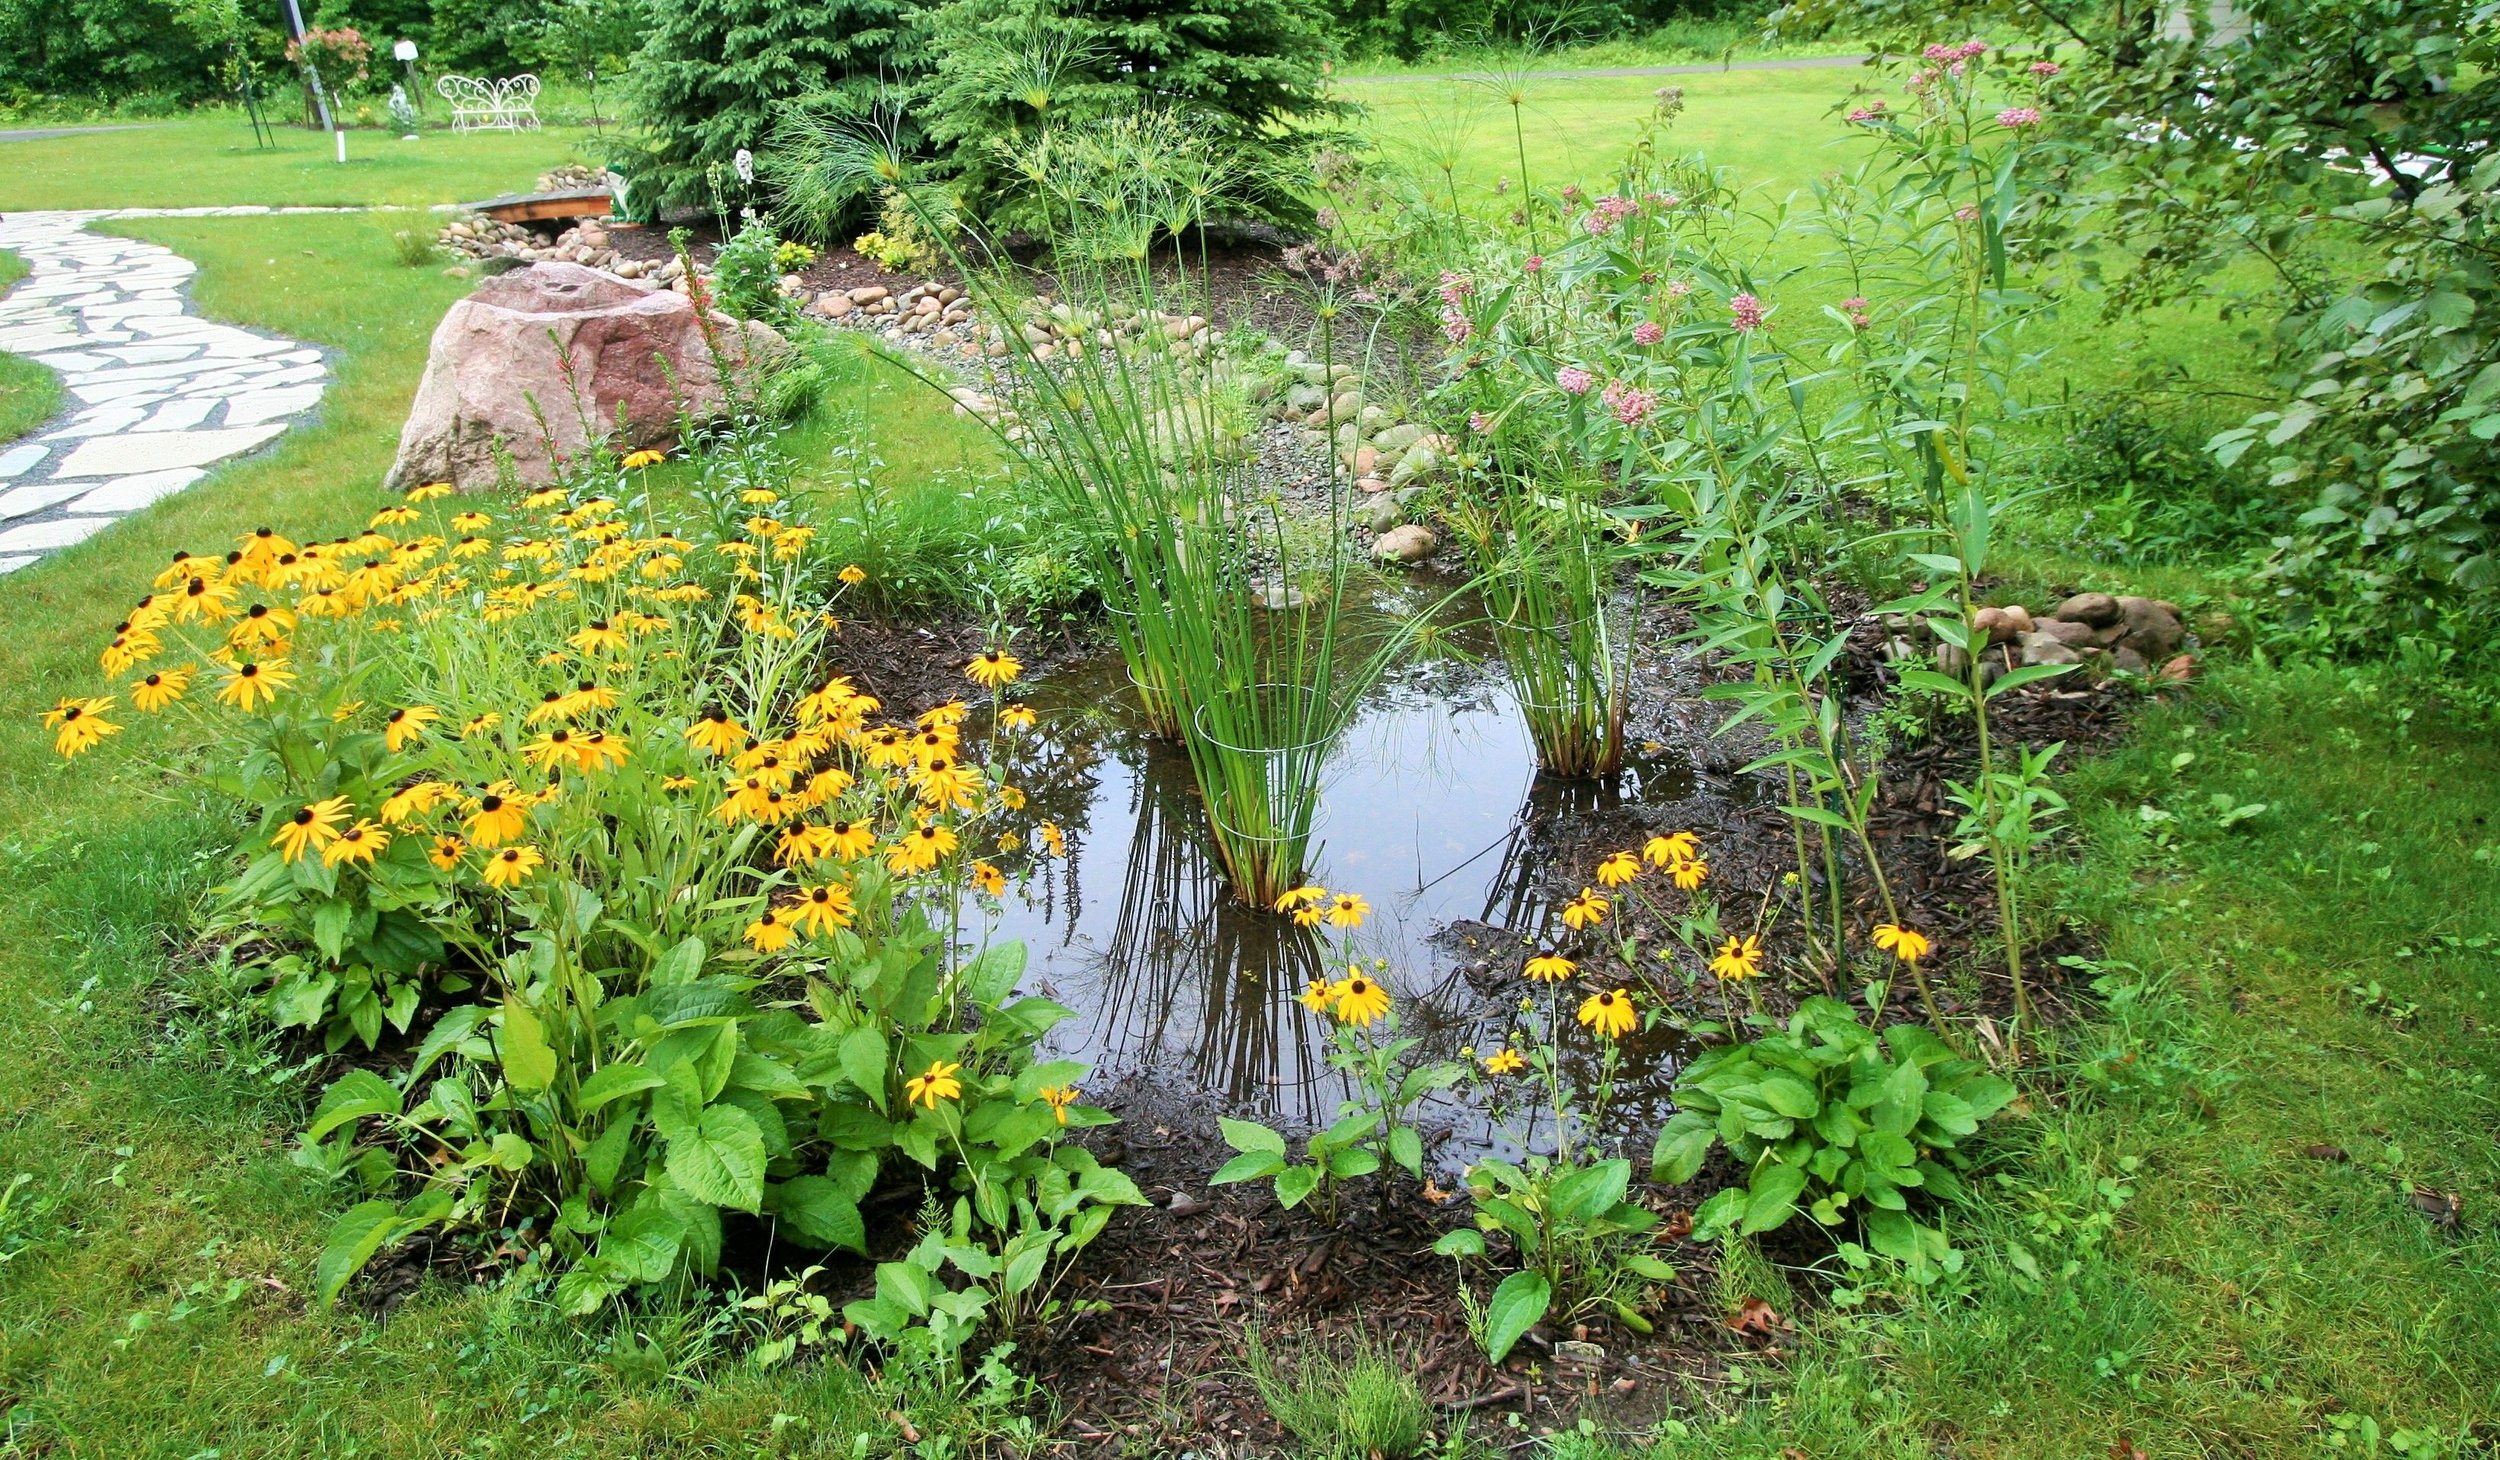
6. Planting
Now is the final part of building your rain garden: planting the garden itself! There are countless different rain garden designs that accommodate for various sizes and preferences. Be sure to account for if there are any tall trees, shrubs, etc. around that may block the sunlight and find plants that prefer sunlight (or the lack thereof) to plant. Here are some plant suggestions.